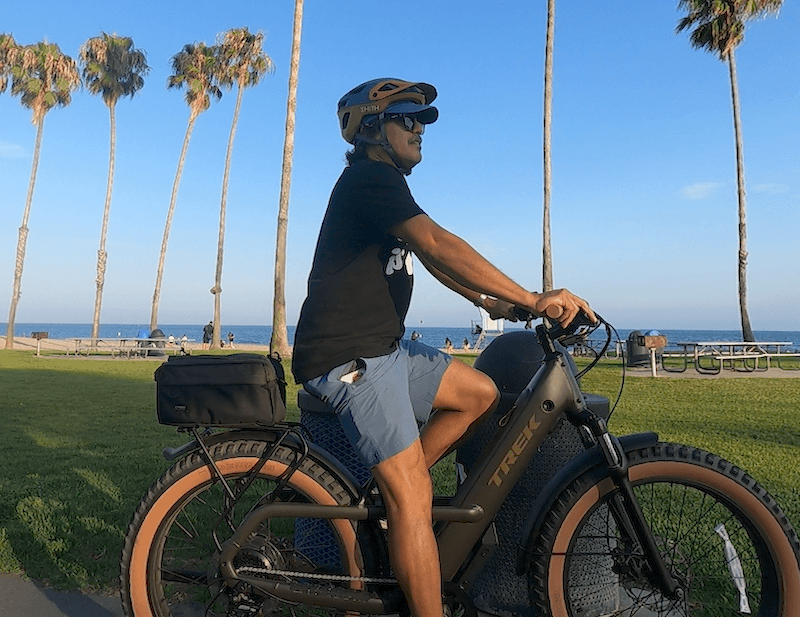
An uncomfortable ebike can turn a ride you were looking forward to into a countdown until you get home. A sore backside, aching wrists, or a stretched-out riding position can take the fun out of even the most scenic bike path.
Before you rush out to buy an adjustable stem or new handlebar grips, the best place to start is with the bike you already have. To make an ebike more comfortable, check your saddle position, handlebar reach, control placement, and tire pressure before buying upgrades. Those adjustments can help you work out whether you need a different component or simply a better setup.
Even if you are comfortable on shorter rides, it is worth checking these basics before increasing your mileage. The goal is a position that suits your body, mobility, and everyday riding.
Start by Identifying What Feels Uncomfortable
“My bike hurts” is a difficult problem to solve. “I start sliding forward on the saddle after 20 minutes” gives you something useful to investigate.
Before changing anything, note where the discomfort occurs, when it begins, and whether it happens on smooth pavement, rough roads, or both.
What you notice | What to check first |
Saddle pressure or rubbing | Saddle height, angle, shape, and width |
Heavy pressure on your hands | Riding position, handlebar reach, and saddle angle |
Awkward wrists or difficulty braking | Grip angle and brake-lever placement |
Feeling stretched toward the handlebar | Frame fit and cockpit dimensions |
Repeated jolts through the seat | Tire pressure and rough-road cushioning |
These are starting points, not diagnoses. A symptom can have several causes, and discomfort is not always something a bike adjustment can resolve. The American Physical Therapy Association’s ChoosePT guidance identifies bike fit as one possible contributor to cycling-related pain. Choose PT
Take a few photos and record your original settings so you can undo a change. Adjust one thing at a time; otherwise, it becomes difficult to tell what helped.
How to Make Your Bike Seat More Comfortable
Before replacing an uncomfortable bike seat, work through its height, angle, and position. A suitable saddle can still feel wrong when it is poorly adjusted.
Check your saddle height
With the bike securely supported, sit in your usual riding position and place your foot on the pedal as you would while riding. At the bottom of the pedal stroke, your knee should retain a slight bend.
Treat this as a starting point rather than a precise prescription. Your proportions, mobility, and bike design affect the final position.
Make small height changes within the manufacturer’s permitted adjustment range. Keep the seatpost’s minimum-insertion mark inside the frame and follow any additional frame requirements. Tighten the clamp according to the manual before riding. If you are unsure how its quick-release or bolt should be secured, have a shop demonstrate it. REI Expert Advice
A motor can make an awkward pedaling position easier to tolerate, but that is a poor reason to leave the saddle somewhere uncomfortable.
Start with a roughly level saddle
Follow your saddle manufacturer’s setup instructions; a roughly level position is a common baseline.
Resist the temptation to use a dramatic tilt to solve pressure. If changing the angle leaves you continually sliding forward or bracing against the handlebar, reassess the setup.
The saddle can also slide forward and backward within its permitted rail-clamping area. That changes your position relative to the pedals as well as your reach and weight distribution. Trek’s fit guidance highlights these connections, which is why moving the seat should be considered as part of the whole riding position. Fitting your bicycle
Choose shape and support before extra padding
If adjustments do not resolve the problem, a different saddle may make sense.
Look for a shape that supports your sit bones and works with your posture. Upright recreational riders often suit broader saddles, while riders leaning farther forward generally need a different shape. Individual anatomy still matters.
The softest saddle in the store is not automatically the most comfortable. Excessive padding can allow you to sink into it and create unwanted pressure. A center channel or cutout may help some riders, but neither guarantees a good fit.
If possible, use a shop’s saddle-demo program or check its return policy before buying. Also confirm that the saddle rails fit your seatpost clamp. REI Expert Advice

Adjust Your Handlebar Position and Control Reach
A comfortable saddle is only part of the picture. You also need to reach the handlebar and operate the brakes without an awkward stretch.
While seated in your normal position, ask:
- Can you hold the grips with relaxed shoulders and slightly bent elbows?
- Do your wrists feel reasonably straight?
- Can you reach both brake levers without shifting your hands into an insecure position?
- Does reaching the handlebar pull you away from a comfortable seated position?
For casual riding, a more upright posture may be worth exploring. However, there is no single handlebar height that works for every rider or bike. The position needs to balance comfort, control, and the way you ride.
A shop can assess whether your existing handlebar and controls can be repositioned or whether a different stem or bar would be more appropriate.
Understand the difference between a stem and a stem riser
The stem connects the handlebar to the fork’s steering assembly. An adjustable stem changes the handlebar’s position through an adjustable joint. A steerer-tube extender adds height through a different arrangement.
Neither is universally compatible with ebikes.
For example, the Ritchey 4-Axis Adjustable Stem illustrates an adjustable replacement stem. Its existence does not establish that it fits your bike. Integrated handlebars, folding mechanisms, and proprietary steering systems require particular care.
Before a cockpit change, have the installer verify the relevant dimensions, permitted installation, and cable and brake-hose clearance throughout steering movement.
This is a sensible job to give a mechanic if you lack the tools or experience. Trek’s stem instructions emphasize that incorrect positioning or tightening can cause loss of control. Use the instructions for your exact bike and component, including their torque requirements. Stems

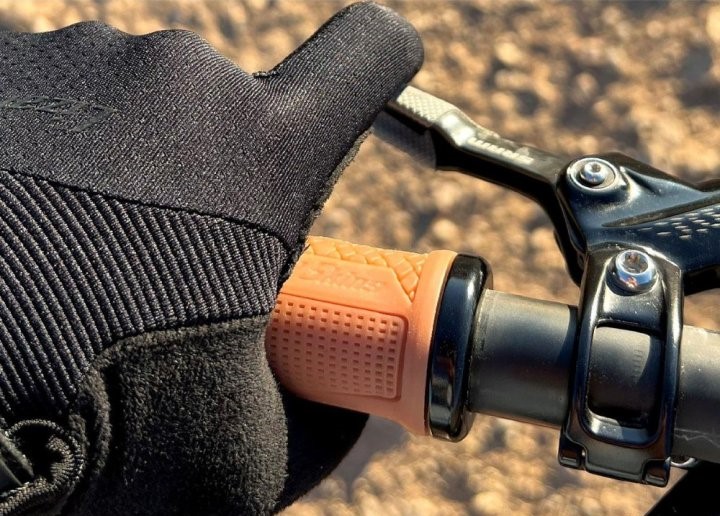
Improve Hand Comfort With Properly Fitted Grips
Once your riding position is reasonable, consider whether the grips themselves suit your hands.
Ergonomic grips have a broader palm-support area than a simple round grip. The Ergon GP1 Evo, for example, comes in different sizes and configurations. Ergon markets its wing shape for hand support and comfort; it should be treated as a fit-dependent option rather than a guaranteed solution for numbness.
Installation angle matters. Ergon’s instructions call for the palm to rest on the grip with minimal wrist angling, followed by small adjustments as needed. They also require secure installation and unobstructed brake and shift operation.
On an ebike, check the available space around the throttle, shifter, and display controls before ordering. A shorter grip intended for one control arrangement may be unsuitable for another.
For more background on grip styles, see our bicycle handlebar grips guide.

Check Tire Pressure Before Buying Suspension Upgrades
If every pavement seam feels harsh, check tire pressure with a gauge.
The maximum pressure printed on the tire is a limit, not an instruction to inflate every rider’s tires to that number. The appropriate pressure depends on tire size, load, and the permitted setup.
Schwalbe explains that lower pressure can improve shock absorption, but sufficient pressure is necessary to support the load. Too little can increase tire damage and other problems. Stay within the tire’s stated limits and any applicable rim and bike requirements. Schwalbe
There is no useful universal recommendation such as “all commuter ebikes should run at 30 psi.” A narrow-tire commuter and a fat-tire cruiser need different advice.
If you are uncertain, ask the bike manufacturer or a shop for a starting pressure for your tires and typical load. Then assess comfort and handling through small changes within the approved range.
When Does a Suspension Seatpost Make Sense?
A suspension seatpost is worth considering when the riding position feels comfortable but bumps still deliver unpleasant jolts through the saddle.
It allows movement between the saddle and frame to cushion a seated rider. The important distinction is between pressure from your seating position and impacts from the road. Buying suspension before sorting out saddle fit can leave the original problem unresolved.
The Redshift ShockStop City is one example designed for commuting and recreational riding, with spring tuning for different riders. Its comfort benefits are manufacturer claims, and compatibility needs to be checked for the specific bike. Redshift Sports
Before choosing a suspension post, confirm:
- The correct post diameter and permitted insertion depth.
- Whether it can achieve your required saddle height.
- Saddle-rail compatibility and rider-weight requirements.
- Clearance for its movement around racks, batteries, and accessories.
The practical question is whether the part fits both your bike and your problem. A premium component that raises the saddle beyond your comfortable position is a poor upgrade.

Clothing and Ride Habits Can Help, Too
Padded cycling shorts or liners may help with chafing on longer rides. Gloves can improve grip and provide some cushioning, provided they fit comfortably.
Occasional changes in hand position and breaks from prolonged saddle pressure can also help. Make those changes only when you can maintain control; stopping for a brief break is always an option. These measures complement fit work rather than replacing it. REI Expert Advice
For a useful test, ride a familiar route after each adjustment. Note what changed and when discomfort began. You do not need an elaborate spreadsheet—just enough information to avoid repeatedly guessing.
When to Get Professional Help
A professional bike fitting can be useful even if you never plan to wear a race number. Everyday riders also benefit from a position suited to their proportions and mobility.
Seek help when you cannot find a comfortable setup within the bike’s adjustment limits or when repeated component changes have failed.
Persistent pain, tingling, or numbness deserves attention rather than another long test ride. A bike fitter can assess the riding setup; a qualified healthcare professional can evaluate symptoms and physical limitations. ChoosePT notes that physical therapists can help assess cycling-related pain and fit concerns.
Conclusion
Making an ebike more comfortable starts with a clear look at how you sit, reach, pedal, and experience the road. Check the existing setup, record your changes, and spend money only when you understand the remaining problem.
Choose a saddle for support, a cockpit change for position, grips for hand contact, and suspension for bumps. Each has a purpose, and none needs to be your first purchase.
The best result is a bike that lets you enjoy the ride without continually thinking about what hurts.
FAQ
Do I need a special ebike saddle?
An “ebike” label does not establish whether a saddle will be comfortable. Prioritize your riding posture, anatomy, and compatibility with the seatpost clamp.
Will a gel seat cover make my bike seat more comfortable?
It may add cushioning, but it will not correct saddle height or shape. Covers can also move or place padding where you do not want it. Check the underlying setup before adding one.
Should I raise my handlebars for a more comfortable ride?
Possibly, especially if your existing position feels too low or stretched. Have the whole position assessed rather than assuming more height will solve the problem. Any change must remain within the bike and component manufacturers’ requirements.
Are fat tires always more comfortable?
No. Tire size is only part of the equation. Pressure and load affect how a tire absorbs road shocks, so a wide tire still needs an appropriate setup.
Is saddle soreness normal when returning to cycling?
Some initial soreness can occur, but pain or numbness should not become an accepted part of riding. Trek’s guidance distinguishes an initial adjustment period from ongoing discomfort that needs attention.